
Explain the Steps in Creating a Main Document for a Form Letter
Introduction
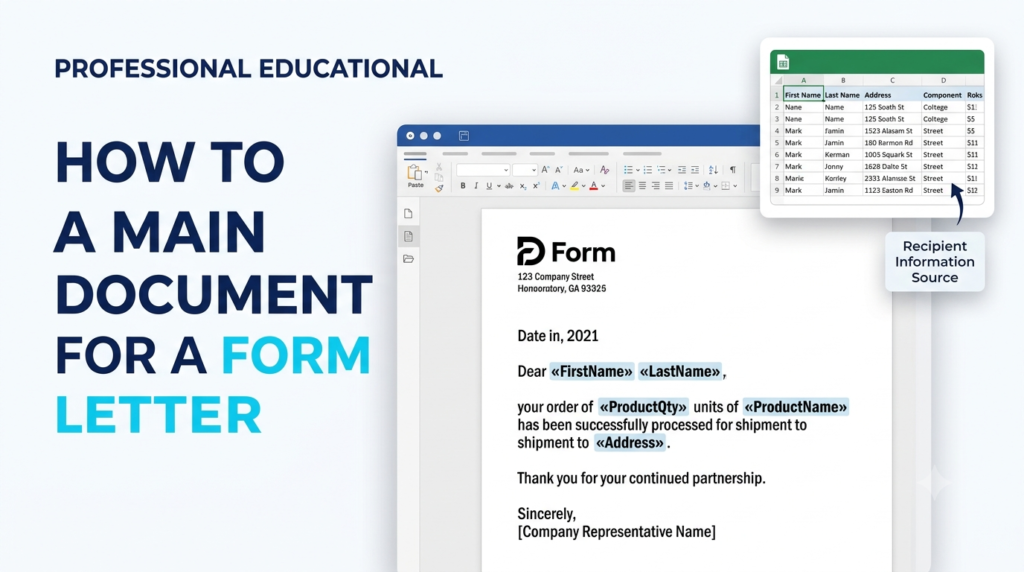
A main document is the standard document used in Mail Merge in Microsoft Word. It contains the common text, formatting, and layout that remain the same for all recipients. Merge fields are added wherever personalized information, such as names and addresses, needs to appear. https://support.microsoft.com/en-us/word/use-mail-merge-to-personalize-letters
Steps to Create a Main Document for a Form Letter
- Open Microsoft Word: Start Microsoft Word and open a new blank document.
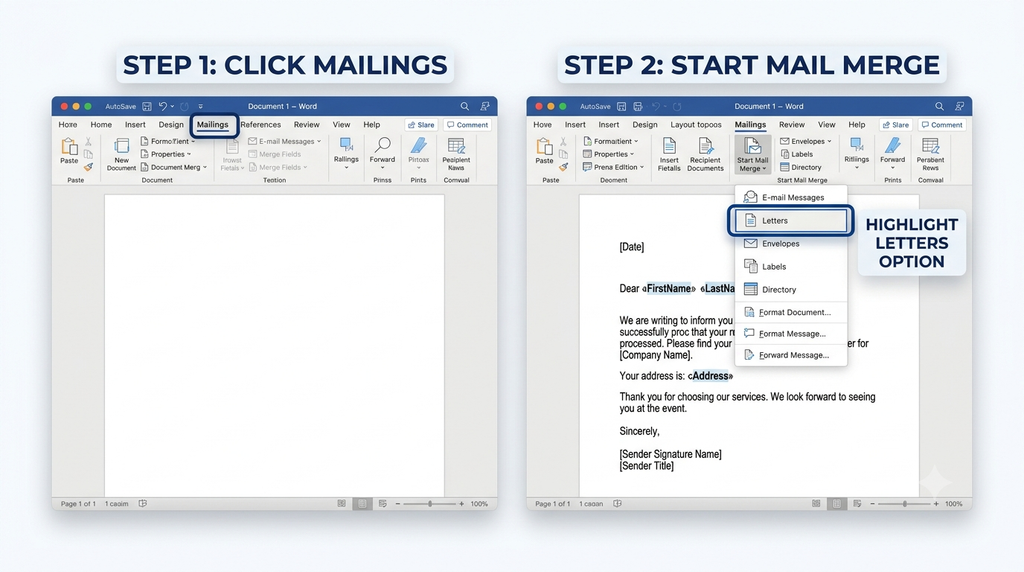
- Go to the Mailings tab: Click the Mailings tab on the ribbon.
- Start Mail Merge: Click Start Mail Merge and select Letters.
- Type the letter: Enter the common content of the letter, such as the date, subject, message, and closing.
- Insert merge fields: Place the cursor where personalized details should appear. Select Insert Merge Field to add fields such as First Name, Last Name, or Address.
- Connect the data source: Select Select Recipients and choose an existing recipient list, such as an Excel spreadsheet, or create a new list.
- Save the document: Save the main document so it can be used for the mail merge.
- Preview the letter: Click Preview Results to check how recipient information will appear in the letter.
These steps prepare the main document for generating personalized form letters. https://support.microsoft.com/en-us/word/use-mail-merge-to-personalize-letters
Example


Conclusion
Creating a main document for a form letter involves selecting the Letters mail merge type, writing the common letter content, inserting merge fields, connecting a recipient data source, and previewing the results. This process makes it easier to prepare multiple personalized letters efficiently.